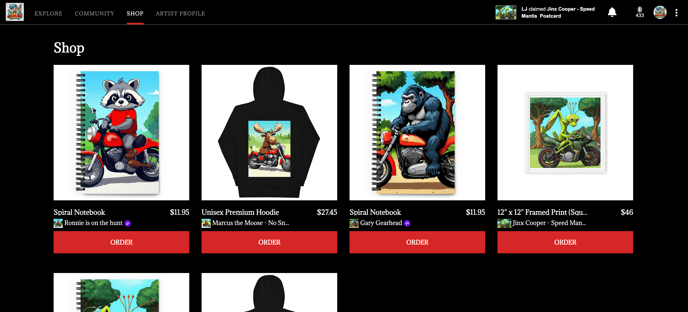
How do I add physical items?
- Go to the OneHub Settings and select NFT Management
- Under NFT Management select Benefits
- Toggle on the benefits you want to be able to choose from and click UPDATE

- Navigate to the explore page and select an NFT that you want to add as physical item
- On the NFT Details page select Benefits and then Add or Manage Benefits

- You MUST click “Manage All” before you select the benefit you want to add

- Select a benefit and wait for the Preview to load

**If you are unhappy with the Preview you may upload a different image that meets the recommended size - If you wish to change the Name, Description or Button text you can do so.
- To change the desired “Buyer Pays” price, noting that the difference between the “Buyer Pays” and “Cost Price ($US)” field will automatically be calculated in the “Margin ($US)” field.
Artists will be paid out the “Margin ($US)” field net of any Stripe processing costs
**Note Stripe Connect must be configured before you save the updates to the benefit. If you see a Stripe Connect Button please complete the flow to ensure your timely payout - Determine the following settings:
- Should the benefit be visible to everyone or only token holders
- Should the benefit be accessible for everyone or only token holders
- If the benefit is only accessible to holders should it be a one time benefit or redeemable indefinitely
**These settings can be updated after creating the benefit
