- Identify the merch item to add an additional margin to (on the Shop tab of your OneHub). In this case we will use the 12” x 12” Framed Print
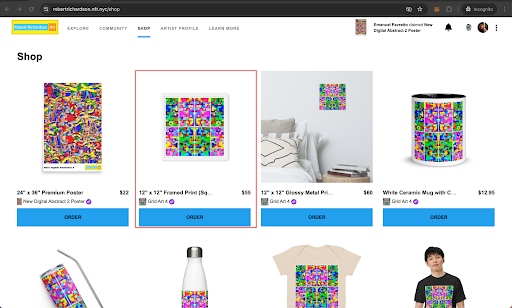
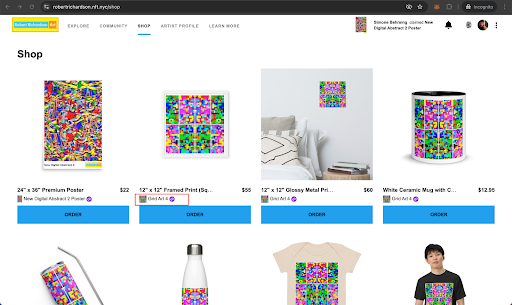
- Click on the NFT name of the merch item - (small text below the Shop item in this case it is “Grid Art 4”)
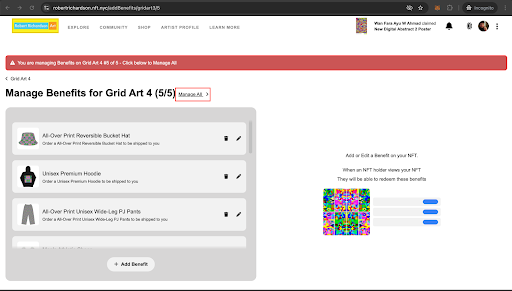
- Once on the NFT Details Page, navigate to the “Benefits” tab, and click on “Add or Manage Benefits”

- Click “Manage All”
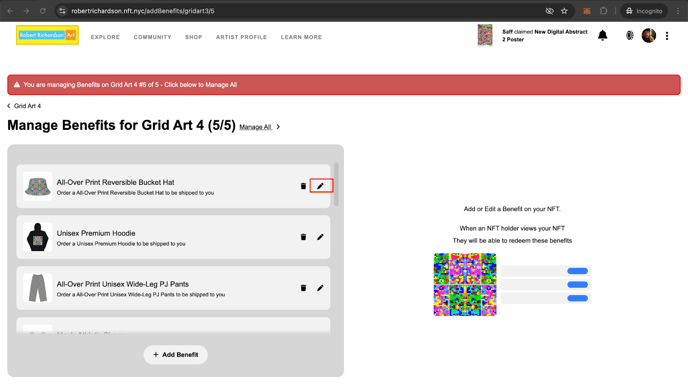
- Click the Edit icon on the benefit to add a margin to the Shop Product
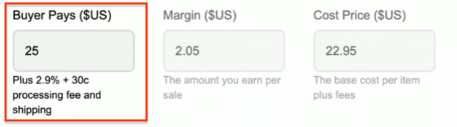
- Enter the desired “Buyer Pays” price, noting that the difference between the “Buyer Pays” and “Cost Price ($US)” field will automatically be calculated in the “Margin ($US)” field. Artists will be paid out the “Margin ($US)” field net of any Stripe processing costs
**Note Stripe Connect must be configured before you save the updates to the benefit. If you see a Stripe Connect Button please complete the flow to ensure your timely payout
- Select “Save Benefit” and wait a few minutes for the benefit to appear in the Shop tab!
- Start earning on your merch!
English